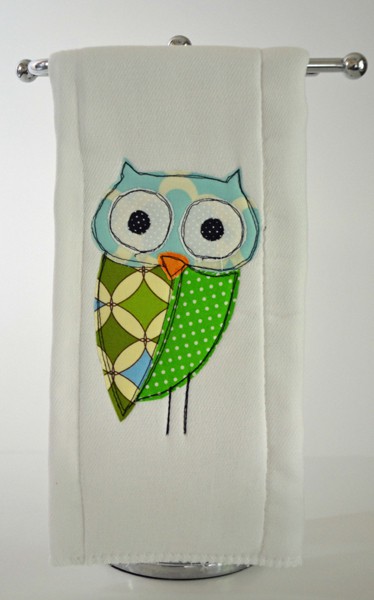
Owl Applique Burp Cloth
This post may contain affiliate links which won’t change your price but will share a commission.
Who doesn’t love cute little owls. And, it’s that time again. I need a baby gift. I’m also teaching another applique class next week. Perfect timing. Like blending peanut butter and chocolate.
Thankfully, I know the baby’s sex, name, and nursery theme. Bless those mama’s who share. My life just got easier. AND, the nursery theme is owls. Doing a happy dance, now! I luuurrrvvveee owls.
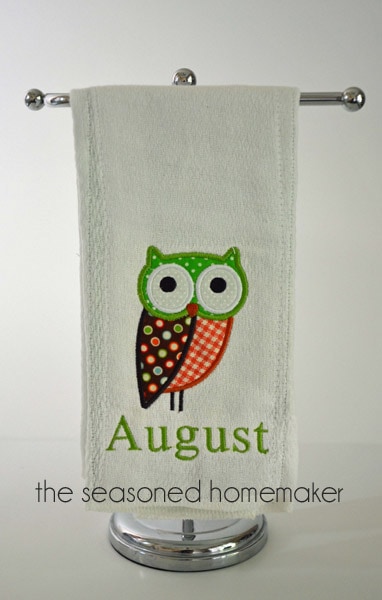
It took me all of 5 seconds to find this adorable owl embroidery design. Ten seconds if you count the time it took to purchase and download. I added the baby’s name to the design by using my embroidery software and then did a bit of housework while the design stitched out.
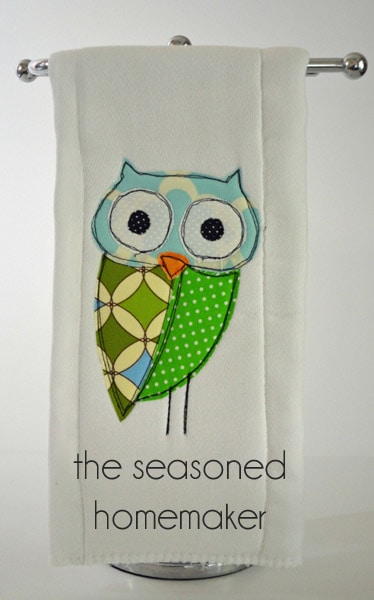
I also wanted to applique an owl that had a raw edge design. I’m really not a very good artist and I didn’t want to have to try and draw an owl design. So, rather than trying (and likely failing) to draw a cute owl or (even worse) hunt one down on the internet, I printed out one of the larger designs from the set I purchased. This was the simplest way to do this because the design set comes in three sizes.
Then, I traced the design to make a template of my owl. Doing it this way gives me lots of room to be creative. And, you don’t have to have a sewing machine that embroiders to do applique this way. You can easily purchase designs, print them, and make your own appliques.

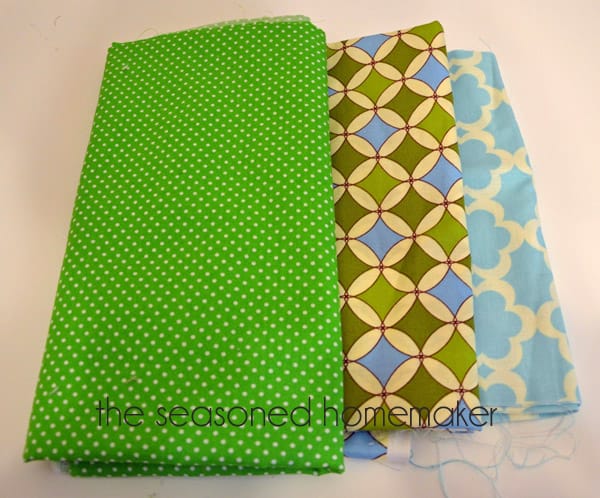
Now that my design is drawn out, I need to choose some cute fabric scraps from my stash. It’s really a no-brainer. Find a few fabrics that go together and you’re set.
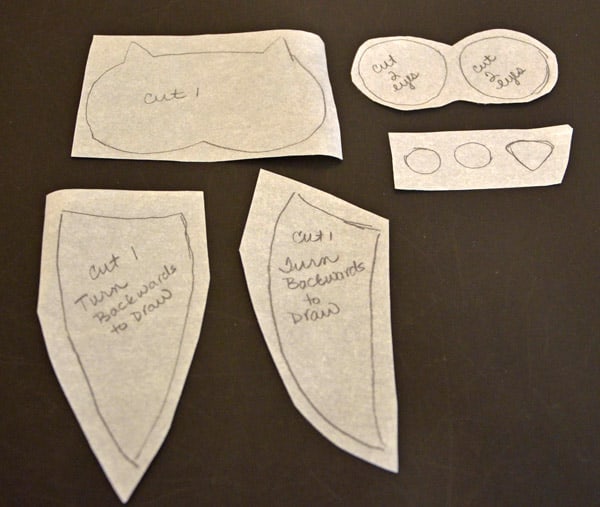
One thing to remember when you are appliqueing something like this project ~ designs are traced BACKWARDS onto the paper side of a fusible web product like Steam A Seam 2 or WonderUnder. All I did here was turn my pattern pieces over and trace them on the back of my fusible web product.
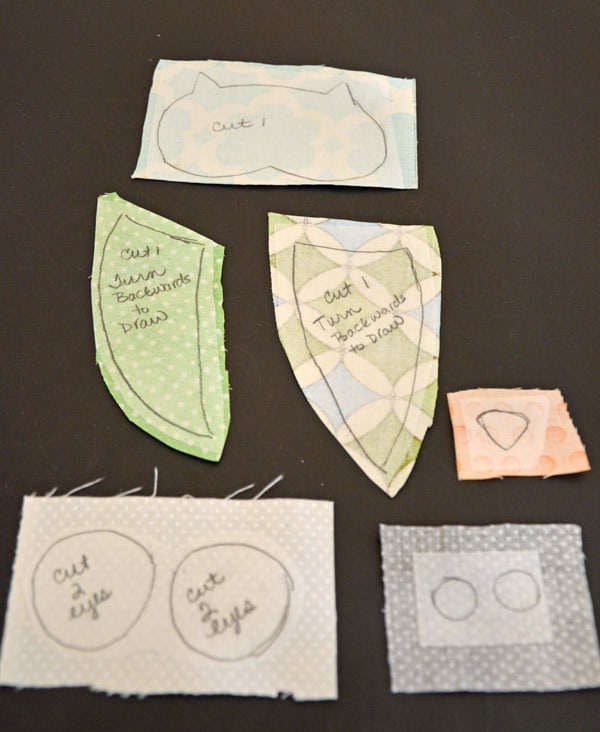
I rough cut around the fusible web pattern pieces and then ironed them to the back of my fabric.
Next, I cut out the designs and ironed them onto a pre-fold diaper that I bought in a set of 6 (??) from Target. (Sorry there is no picture of this step; I forgot to take one). I also took a water soluble marker and drew two legs on my owl.
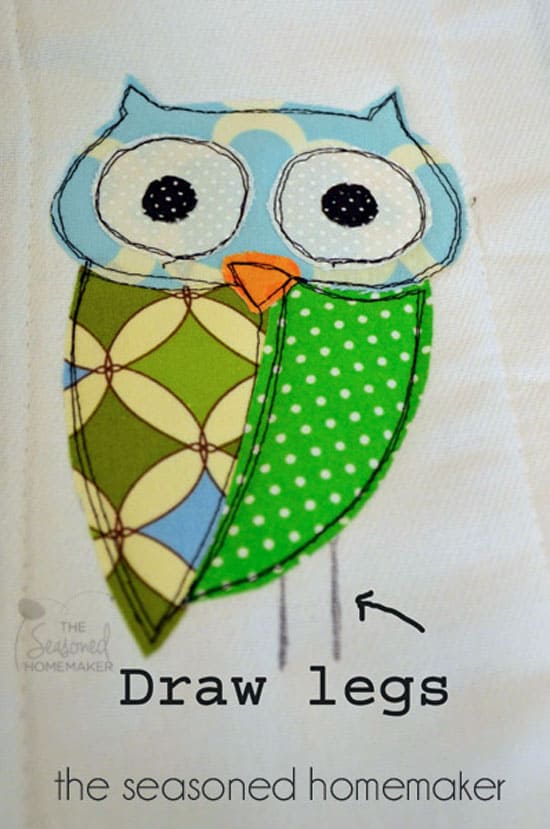
Now for the fun part. I straight stitched all around the raw edges of the different pattern pieces. Notice that it is not perfect ~ but still totally cute. I also made sure to stitch the legs.
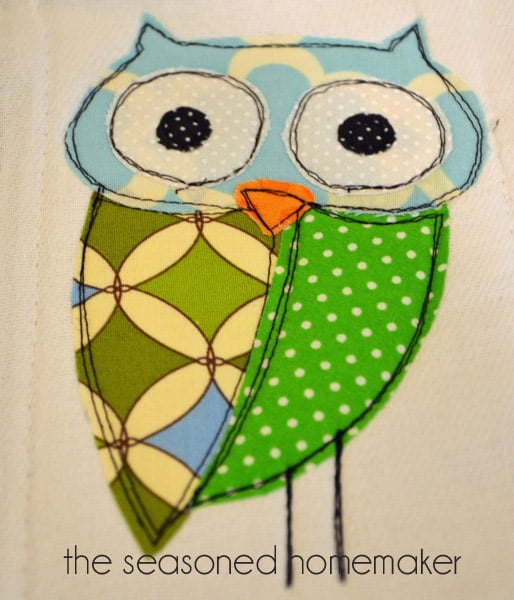
Now, isn’t he an adorable owl ~ perfect for any nursery! I just love this cute little owl applique.
How cute is that!
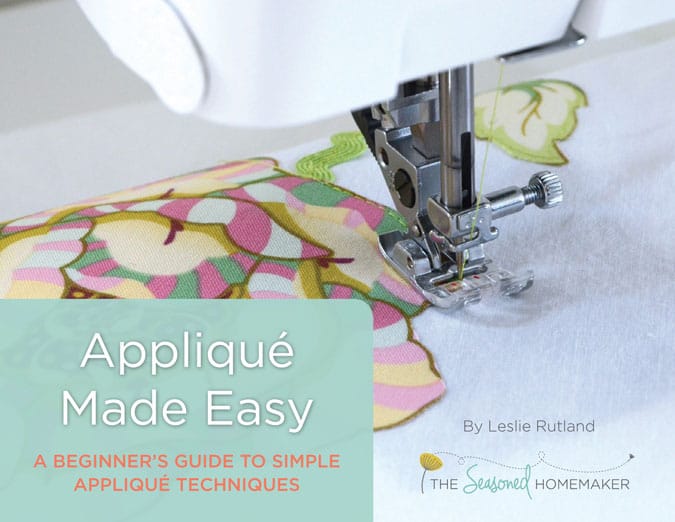
If you want to further develop your appliqué skills, check out my eBook:
Applique Made Easy: A Beginner’s Guide to Simple Applique Techniques
Below is a short applique video to help you better understand.